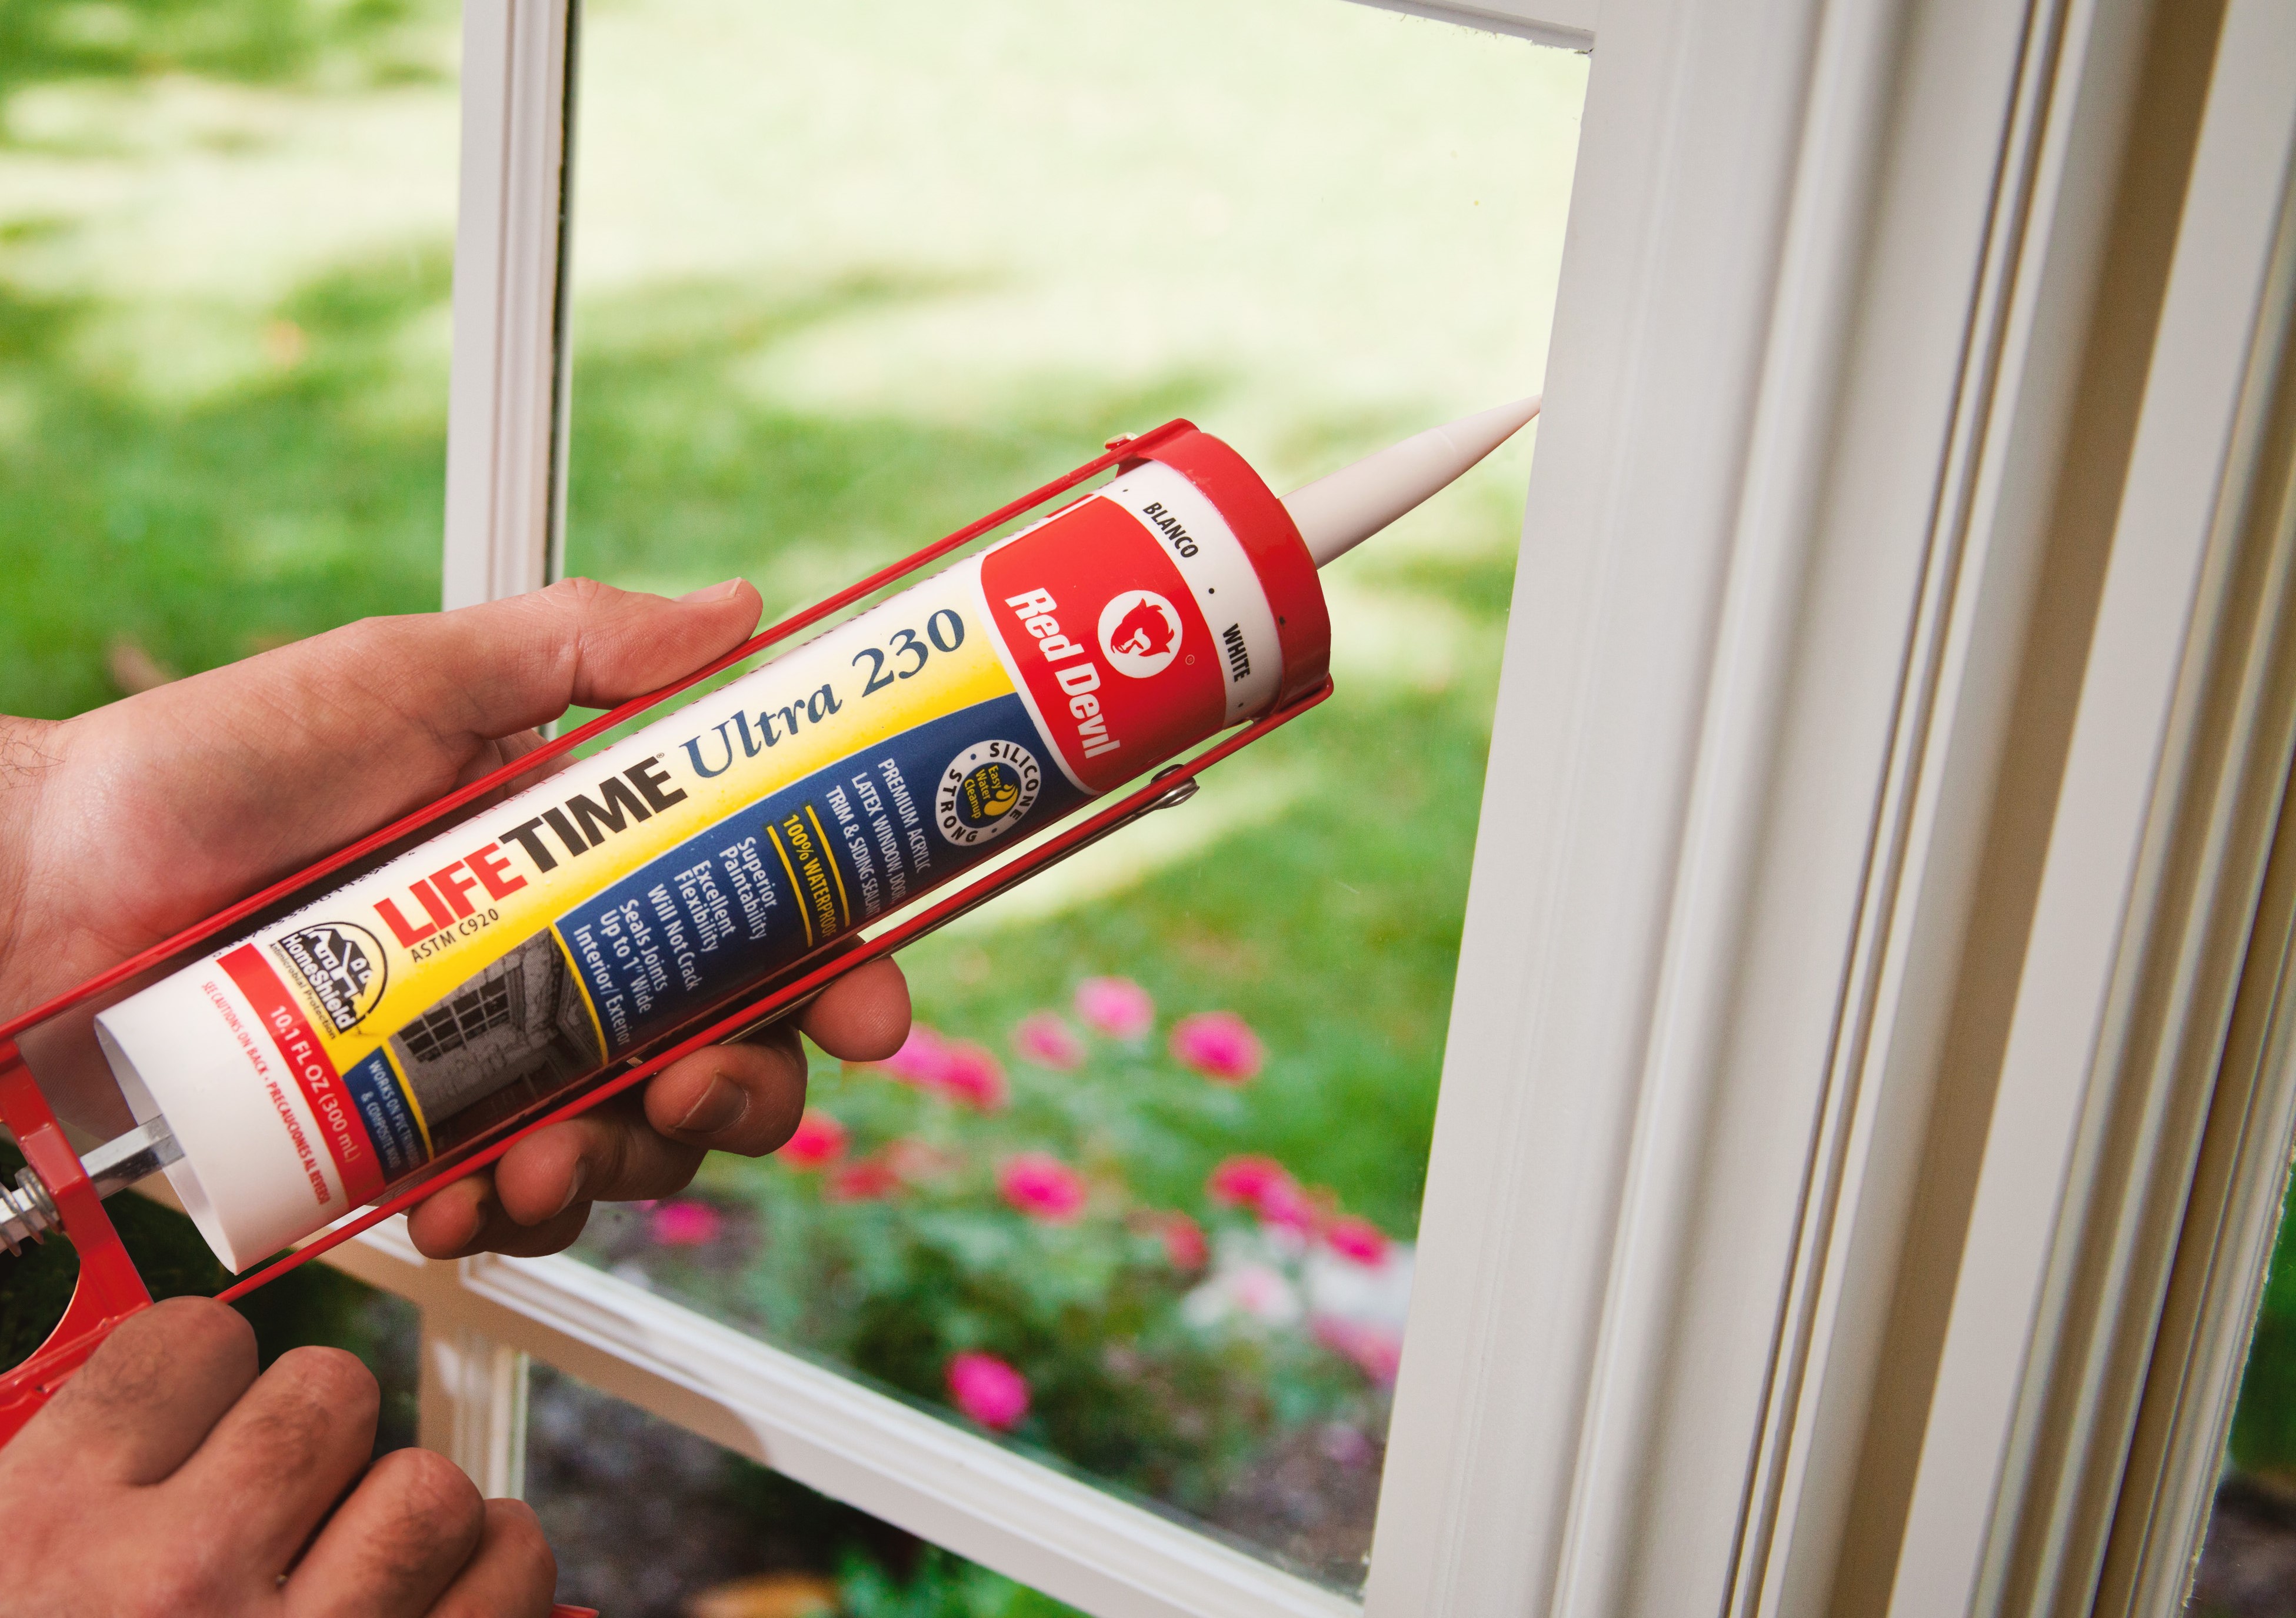
Latex caulking is a versatile and widely used sealant designed to close small gaps, cracks, and joints in buildings. It plays a crucial role in improving both the appearance and energy efficiency of homes and commercial spaces. Easy to apply and paint-friendly, latex caulking is often the first choice for interior sealing and finishing work.
Latex caulking, also known as acrylic latex caulking, is a water-based sealing material used to fill narrow openings between different building surfaces. It adheres well to materials such as wood, drywall, plaster, brick, and concrete. Because it is water-based, it produces minimal fumes and allows for simple cleanup with water. Epoxy flooring is a resin-based coating applied over concrete surfaces to create a strong, smooth, and durable finish. It forms a chemical bond with the concrete, resulting in a tough and resistant surface that can withstand heavy traffic, chemicals, and moisture.
Concrete cracks can develop for several reasons. Understanding the cause helps contractors choose the right repair method.
To achieve the best results:
For More Details :
Contact : +1 (604) 379 4400
Website : Home- Pro-Line Painting
.png)
Canada’s Trusted Experts in Complete Property Solutions.


